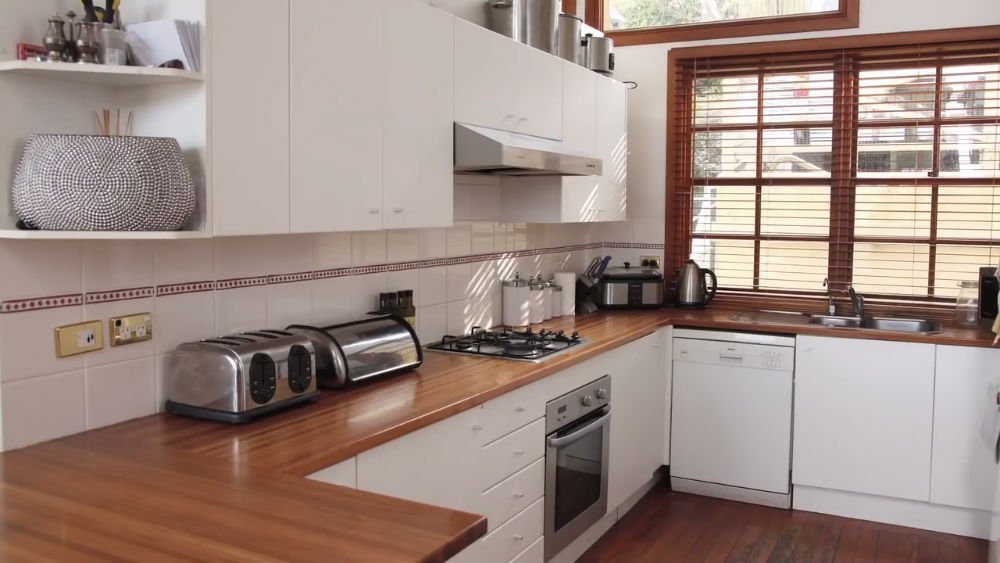
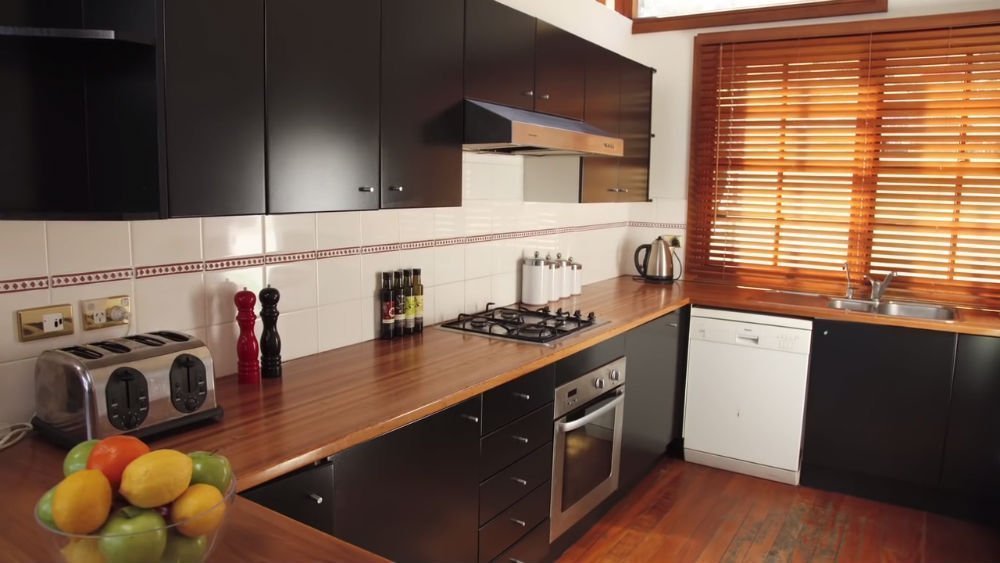
Painting Kitchen Cabinets

Author: Kevin Sorby - Article Published: June 26, 2019
With the right preparation, painting kitchen cabinets can be very successful for the budget conscious kitchen renovator.
However, as with any kitchen makeover, preparation is key. That means cleaning off all surface grease, properly sanding back the doors and panels and protecting surfaces from paint splashes.
PAINTING LAMINATE & MELAMINE DOORS
In this guide we will be concentrating on painting laminate and melamine kitchen doors and panels.
Not any paint will do though. It needs to be specifically formulated in order to bond with melamine or laminate (the most common kitchen door material).
Laminate paint is formulated to adhere to melamine and laminate. It is available in a large range of colours and can be tinted to virtually any colour that you desire.
Painting the cabinets and doors is easy, but takes a while due to the time taken for the paint to dry between coats. I would allow one weekend to paint a medium size kitchen.
PAINT PRODUCTS
We will be using White Knight products to paint the cabinets and doors. Just remember that the paint has a satin finish. If you want your cabinets and doors to have a gloss finish then make sure you use the ‘Tile Paint’.
- White Knight Tile and Laminate Cleaner
- White Knight Tile and Laminate Primer
- White Knight Laminate Paint (for a satin finish)
- White Knight Tile Paint (for a gloss finish)
MATERIALS
- Safety gloves / mask
- Painters masking tape
- #240 grit wet & dry sandpaper and #600 grit wet & dry sandpaper
- Small microfibre paint roller (4mm nap) / roller tray
- Painter's pyramids
- TSP (Trisodium Phosphate) to clean grease off doors and panels
- Clean sponge and cloths
- Bucket
- Drop sheets
Watch professional painter Roy Evans in the video below, describe how easy it is to totally transform the look of your existing kitchen by painting it.
FOLLOW THIS EASY STEP-BY-STEP GUIDE TO PAINT YOUR LAMINATE OR MELAMINE KITCHEN CABINETS
Step 1 – First you will need to calculate the amount of paint you will need. You can calculate this by multiplying the length of your kitchen cupboards by the height.
You can start with the wall cupboards, then floor cupboards and finally the tall cupboards. Add up the square meterage for each then divide that number by 12 to give you how many litres of paint you will need.
Step 2 – Number all of your doors. Tear off a piece of masking tape and stick it to the back of the door.
Write the door number on the tape. This will help stop confusion when putting back your doors later.
If you are going to paint the back of the doors you can unscrew the door-hinge cup and write the door number inside the hinge hole.
Step 3 – Remove all of your door and drawer knobs / handles and put them into a bag so that you won’t lose them.
Step 4 – Apply painters masking tape to the back of the door edges to stop the paint bleeding around the back of the door.
Normally the backs of the kitchen doors do not need to be painted but if you are going to paint the back of your doors then skip this step.
Step 5 – Remove all of your doors by unclipping the door hinge from the hinge plate (if you have clip-on hinges) or alternatively, loosen the screw that hold the door hinge to the hinge plate.
Remove all of your drawers and number them by writing on the underside of the drawer base.
Step 6 – Use drop sheets to cover your kitchen benches and floors. Mask off any areas of your kitchen cabinets that you don’t want covered with the laminate paint.
Step 7 – In order for the paint to properly adhere to the door you will need to thoroughly clean them to remove all traces of grease and dirt.
White Knight has a tile and laminate cleaner especially for this purpose. Alternatively, you can use TSP (Trisodium Phosphate). Spray the cleaner onto the door surface and wipe with a damp sponge (or cloth) working on a small area at a time.
If the doors are really dirty leave the cleaner on the door for at least 30 seconds before wiping. Try using a scotchbrite or plastic scourer if the doors are difficult to clean.
If the doors have signs of mould you can use a solution of 1 part bleach to 3 parts water to get rid of it. It is vital that the doors are meticulously cleaned. The smallest trace of grease will mar the door finish when the laminate paint has been applied.
Step 8 – Lightly sand the doors with very fine #240 grit wet & dry sandpaper. This will provide a key for the primer to adhere properly.
Rinse with water and a damp sponge to remove all traces of dust. Leave the doors to dry completely.
Step 9 – Put some Painter's pyramids on the ground or table and place your door on top of them. The pyramids keep the door elevated so that you can easily manoeuvre your paintbrush around the bottom edges and stops debris getting onto your bristles.
Apply White Knight Tile and Laminate Primer thinly with a small microfibre paint roller (4mm nap) to the edges of the door first. Then prime the face of the door using a zig zag pattern to completely cover the door.
To finish off, roll the paint in one direction from the top of the door to the bottom. The primer will be touch dry in an hour but leave the door to dry completely for 4 hours before applying the finishing coat.
Step 10 – Lightly sand the primed door face and edges with #240 grit wet and dry sandpaper. Wipe off all dust with a damp cloth.
Step 11 – Apply the top coat using White Knight Laminate paint as per Step 9. The top coat will be touch dry in 2 hours but allow 6 hours before applying the finishing coat.
Step 12 – Before applying the finishing coat lightly sand the door face and edges with extra fine #600 grit wet & dry sandpaper. Wipe off all dust with a damp cloth.
Apply the finishing coat as per Step 9. Allow 8 hours to dry completely.
Step 13 – Re-attach the doors and drawers to the kitchen cabinets. Attach the handles and knobs and you are finished!

Who knew painting kitchen cabinets could be so easy? Your tired old kitchen will be totally transformed! Just remember to be careful handling the freshly painted doors for the first 7 days to allow the paint time to fully harden. For more information about laminate paint, primer and cleaner visit White Knight Paints.
